Self-Host Commento using Nginx and Docker
Commento is a commenting system that you can embeded websites to allow your readers to add comments.This blog will guide you to self-host commento.
Commento is an open-source commenting system that you can embed in your website to allow your readers to add comments. It’s reasonably fast lightweight, supports markdown, import from Disqus, voting, automated spam detection, moderation tools, sticky comments, thread locking, OAuth login, single sign-on, and email notifications.
Although it is open-source, the cloud version is not offered free of cost. This blog will guide you to self-host commento using Nginx and Docker.
Before moving forward, let’s compare Commento with other products such as Disqus, Facebook Comments, etc.
Why Commento?
Most other products in this space do not respect your privacy; showing adverts is their primary business model and that nearly always comes at the users’ cost. There is no free lunch. Commento is also orders of magnitude lighter than alternatives — while Disqus and Facebook take megabytes of download to load, Commento is just 11 kB.
Prerequisites
Before proceeding make sure you keep following things ready:
An Ubuntu host with Public IP.
If your domain name is example.com, it would be a good idea to use subdomain commento.example.com. So add DNS A Record which points the subdomain to the host’s IP Address.
A terminal session into your target host for running Commento.
example.com is just a placeholder replace it with your domain name
Nginx Configuration
We will use Nginx as a reverse proxy which will pass traffic from commento.example.com to localhost:8080 where commento will be running.
First off install Nginx using apt.
sudo apt install nginx
We will also generate SSL certificate for commento.example.com. This is where Let’s Encrypt comes handy.
Install certbot and its nginx plugin
sudo apt install python3-certbot python3-certbot-nginx
Add the following server block configuration to /etc/nginx/sites-enabled/default
server {
    listen 80;

    # Replace this with your domain
    server_name commento.example.com;

    location / {
        proxy_pass http://127.0.0.1:8080;
    }
}
Installing SSL Certificate
Now that we have configured our reverse proxy, let’s add SSL certificate to it
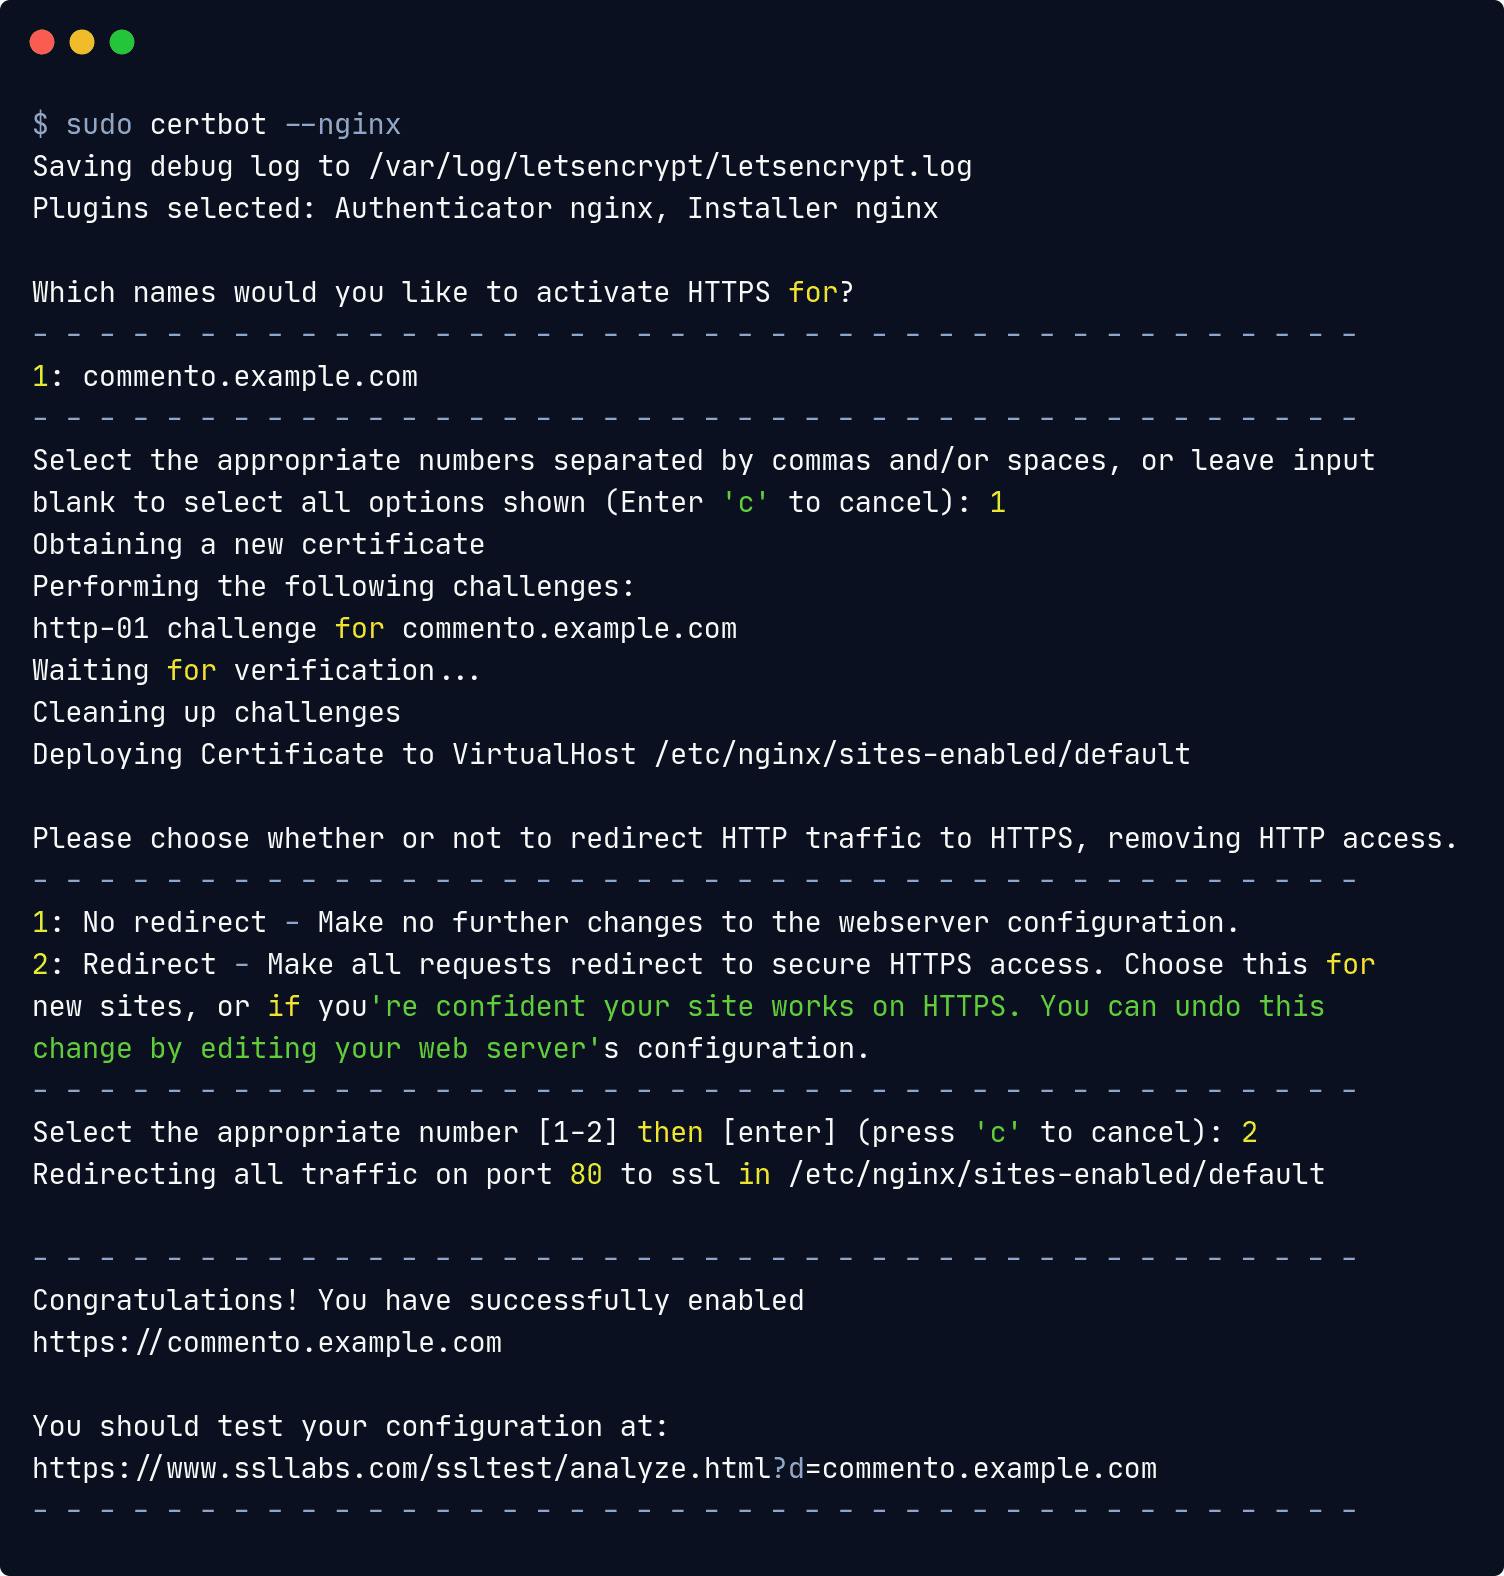
sudo certbot --nginx
Enter your email, subdomain and other details which are asked.

Certbot will create a SSL certificate and then it will automatically integrate it with Nginx.
I recommend running the following line, which will add a cron job to the default crontab. This will ensure that the SSL certificate is automatically renewed.
echo "0 0,12 * * * root python -c 'import random; import time; time.sleep(random.random() * 3600)' && certbot renew -q" | sudo tee -a /etc/crontab > /dev/null
And that’s it! You have successfully configured Nginx with SSL Certificate. Now let’s install Commento using docker.
Installing Commento
We will be using docker and docker-compose to install Commento. If you don’t have docker and docker-compose installed, first install them and then follow these steps
Commento uses PostgreSQL as its database, for simplicity we will also use docker-compose to run postgres. In production environment you may use managed database service such as AWS RDS.
Create a docker-compose.yml file and add the following lines
version: '3'

services:
  server:
    image: registry.gitlab.com/commento/commento
    ports:
      - 8080:8080
    environment:
      COMMENTO_ORIGIN: https://commento.example.me
      COMMENTO_PORT: 8080
      COMMENTO_POSTGRES: postgres://postgres:postgres@db:5432/commento?sslmode=disable

    depends_on:
      - db
  db:
    image: postgres
    environment:
      POSTGRES_DB: commento
      POSTGRES_USER: postgres
      POSTGRES_PASSWORD: postgres
    volumes:
      - postgres_data_volume:/var/lib/postgresql/data

volumes:
  postgres_data_volume:
The above configuration pulls and sets up Commento and PostgreSQL in two separate containers with a persistent database volume. Modify the values of COMMENTO_ORIGIN, COMMENTO_PORT, COMMENTO_POSTGRES and other environment variables as per you need.
Save the docker-compose.yml file somewhere and run the following command to start the services.
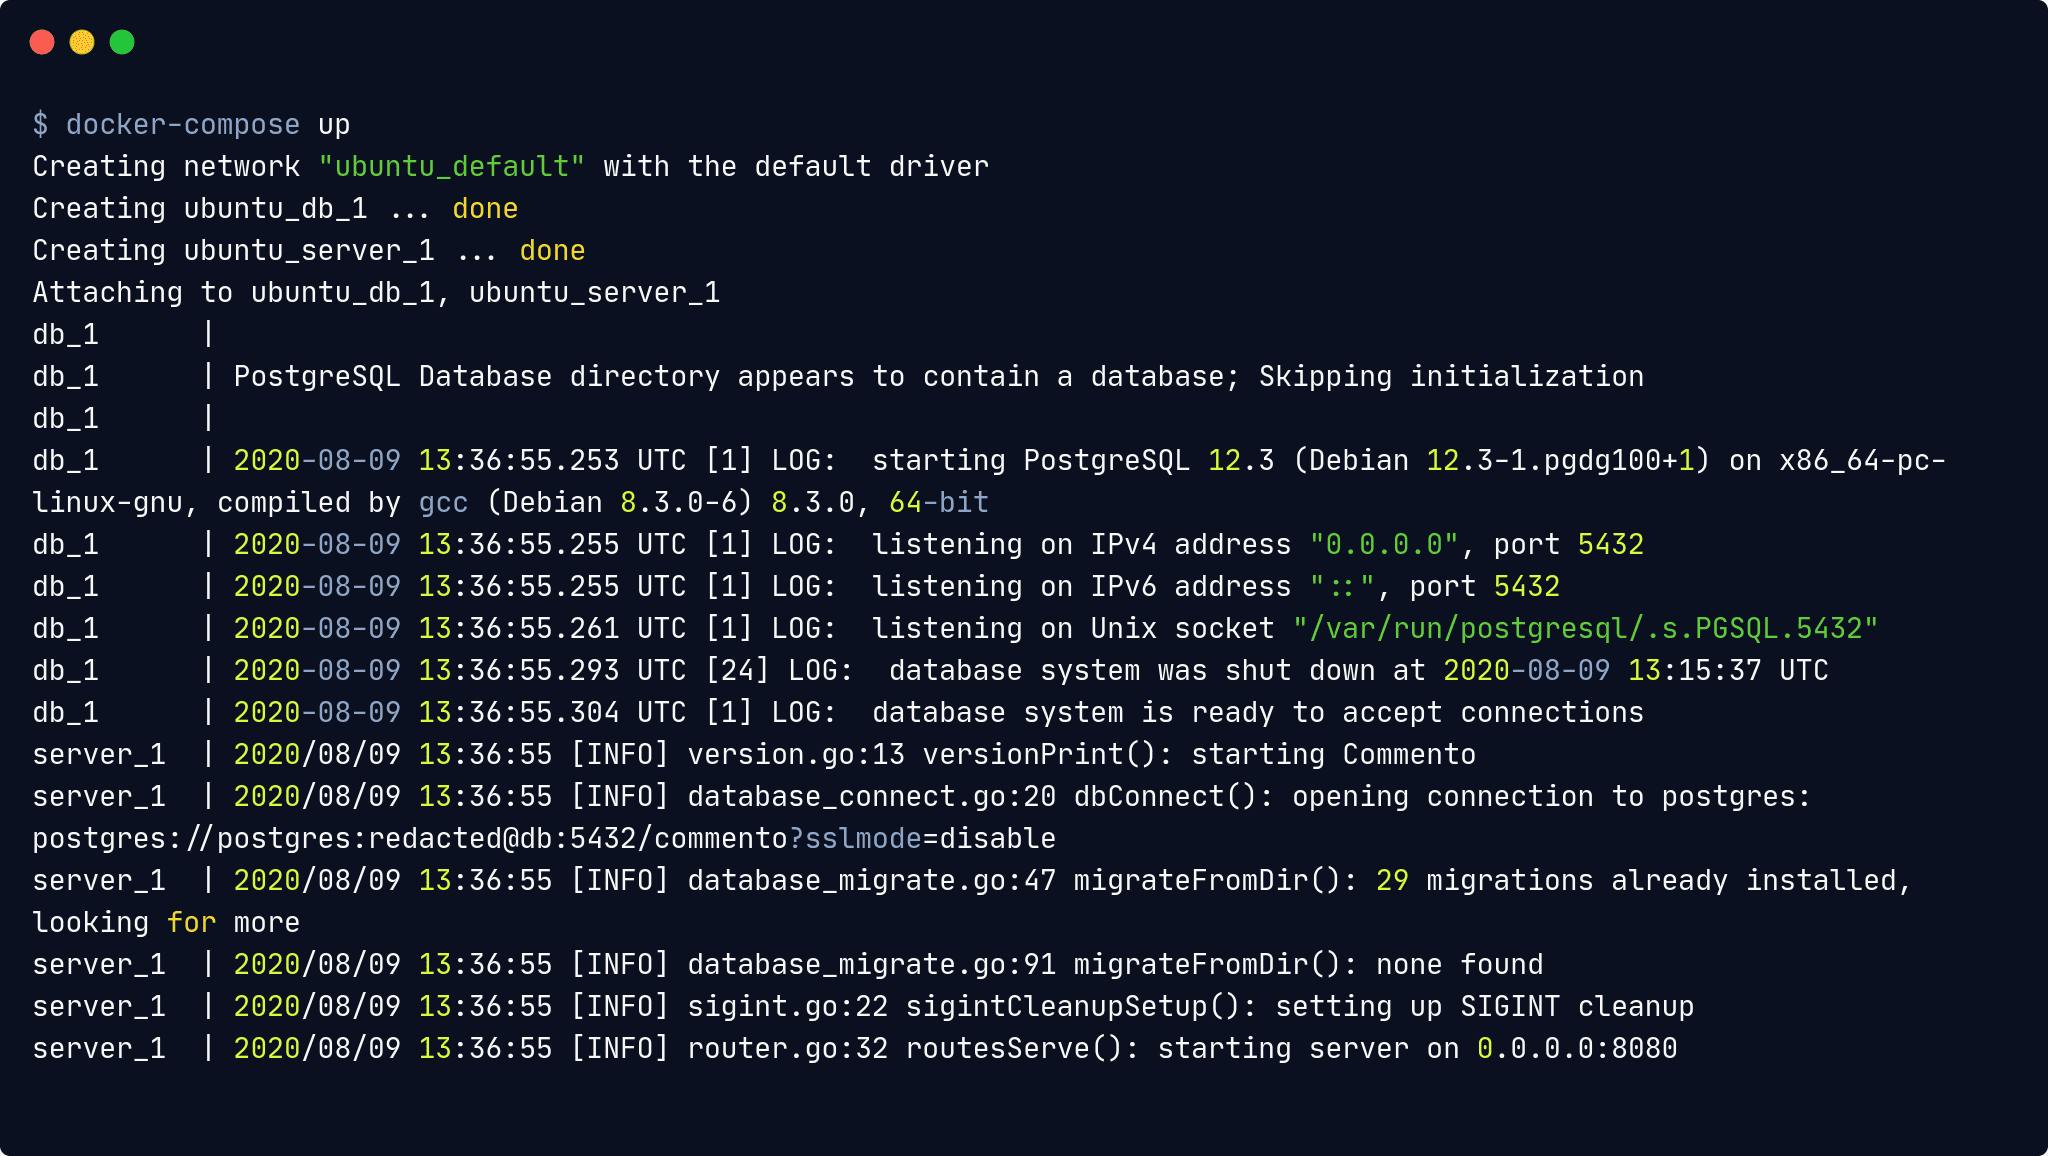
docker-compose up

This will start both services and will map commento to port 8080 of the host.
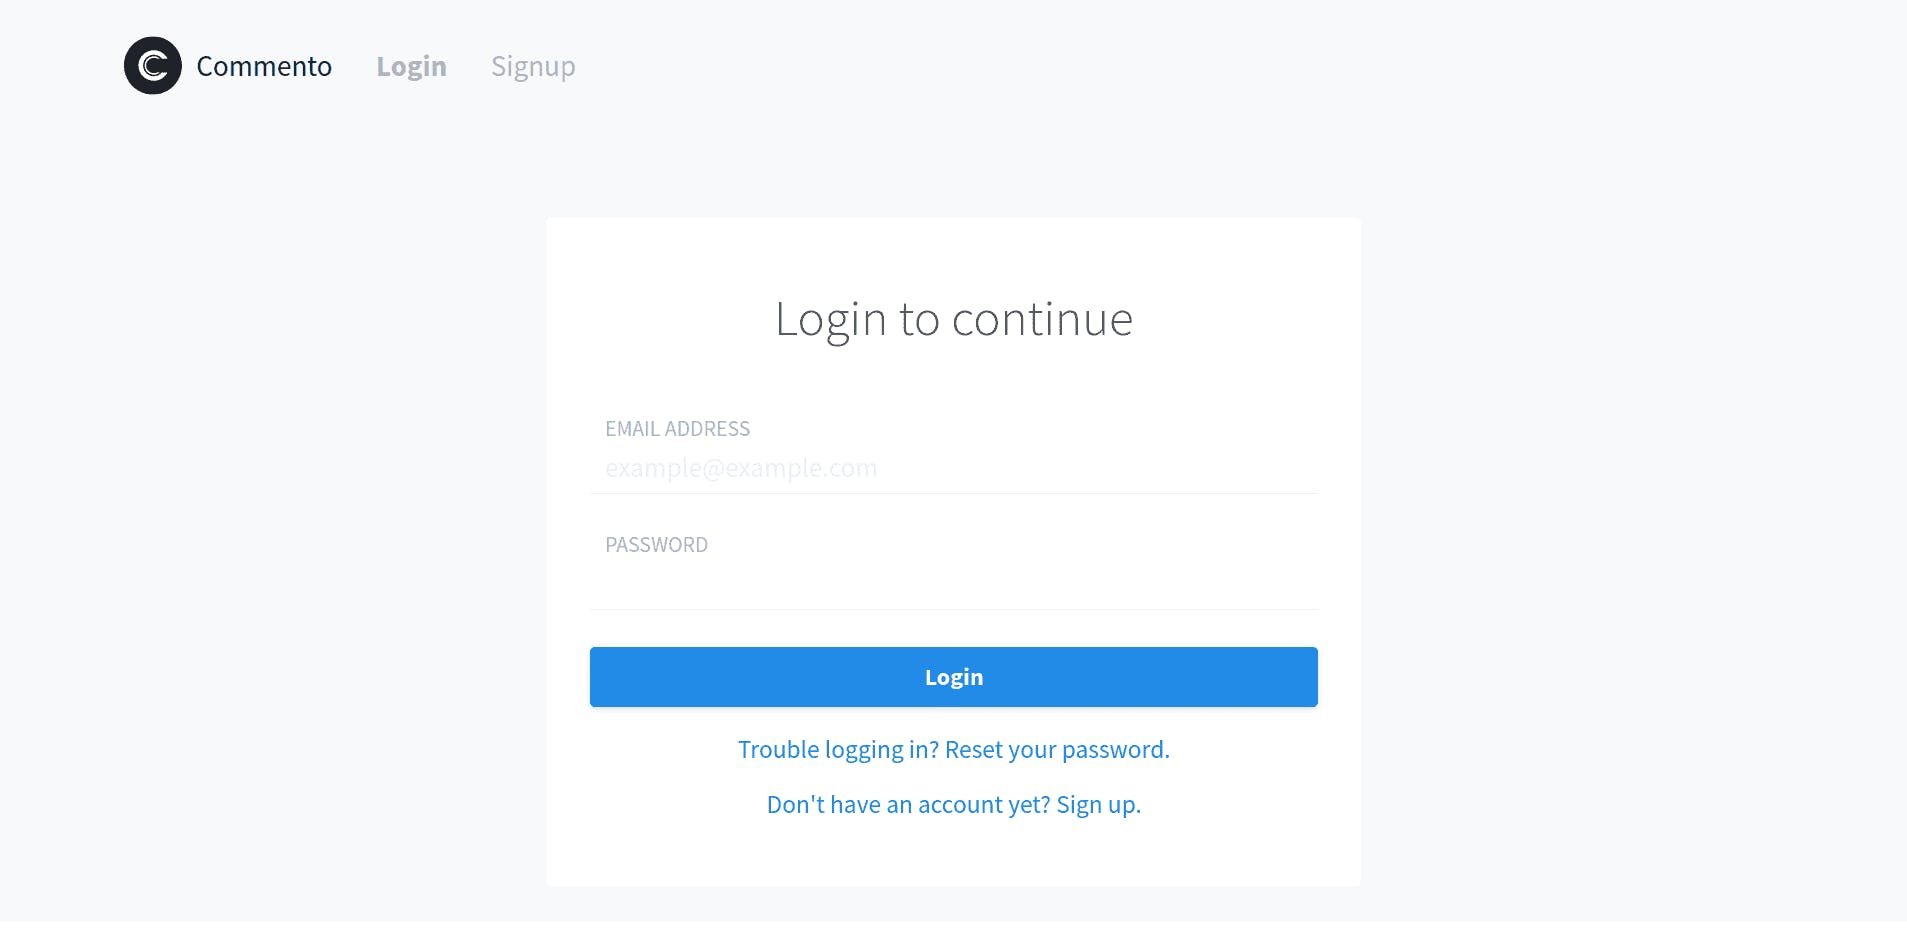
Now visit https://commento.example.com and you will be greeted with Commento's login page.

At this point, you have successfully self-hosted commento. If you want to configure SMTP Server and setup OAuth move ahead.
Configure SMTP Server
Commento will use SMTP Server to send mails to notify users and moderators about relevant events. To configure SMTP Server you need to provide the credentials and other information using environment variables listed below
COMMENTO_SMTP_HOST=smtp.gmail.com
COMMENTO_SMTP_PORT=587
COMMENTO_SMTP_USERNAME=example@gmail.com
COMMENTO_SMTP_PASSWORD=hunter2
COMMENTO_SMTP_FROM_ADDRESS=no-reply@example.com
All these variables should be appended in
docker-compose.ymlfile underenvironmentsection ofserverservice.
Setup OAuth
Setting up OAuth is very easy with commento. All you need to do is provide credentials in environment variables. We will configure Google and Github OAuth.
Google OAuth
First off obtain the API Key and Secret by creating a new project at Google API Console. Then add those values to following environment variables.
COMMENTO_GOOGLE_KEY=961031300431-0fe76kc72xvo0otts78ug2aqmi4is067.apps.googleusercontent.com COMMENTO_GOOGLE_SECRET=XmaKz7gRkWw3MQgoAHmApuwb
While creating a project at Google API Console you will be asked for Callback URL, So replace example.com with your domain name and provide this URL [https://commento.example.com/api/oauth/google/callback](commento.example.com/api/oauth/google/callb..)
Github OAuth
Create a new OAuth app in GitHub developer settings to generate a set of credentials.
COMMENTO_GITHUB_KEY=uk3juvzyyejgxhbym1sqkn3t COMMENTO_GITHUB_SECRET=2fbdc6bdbb7c02119fd8fa70b7bdcfa7af8e2c
Callback URL: [https://commento.example.com/api/oauth/github/callback](commento.example.com/api/oauth/github/callb..)
Conclusion
Congratulations, you have successfully deployed Commento with SSL. We have also configured SMTP Server and OAuth. If you want to dive deeper in commento, you can refer the documentation

